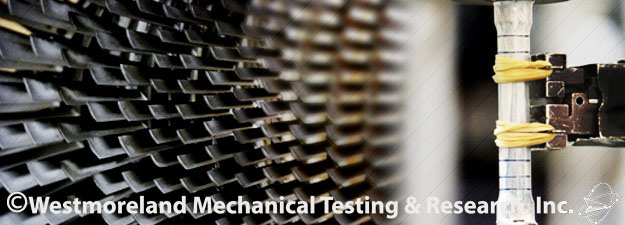
Tensile Testing

WMT&R performs tensile tests up to 1,000,000 lbs capacity at ambient temperature. We also perform tests at temperatures ranging from -450°F to 2200°F in accordance with customer unique specifications as well as the following international and industry standards:
ASTM E 8 Standard Test Methods for Tension Testing of Metallic Materials
ASTM E 21, Standard Test Methods for Elevated Temperature Tension Tests of Metallic Materials
Mil-STD-1312-18 superseded by NASM1312-18, Standard Practice, National Aerospace Standard, Fastener Test Methods; Method 18, Elevated Temperature Tensile Strength
Mil-STD-1312-8 superseded by, NASM1312-8, Standard Practice, National Aerospace Standard, Fastener Test Methods, Method 8, Tensile Strength
ASTM A 370, Standard Test Methods and Definitions for Mechanical Testing of Steel Products, Sections 5-13 Tension
ASTM D 638, Standard Test Method for Tensile Properties of Plastics
ASTM F 606 / F 606 M, Standard Test Methods for Determining the Mechanical Properties of Externally and Internally Threaded Fasteners, Washers, Direct Tension Indicators, and Rivets
ASTM D 3039/D 3039M, Standard Test Method for Tensile Properties of Polymer Matrix Composite Materials
In a Tensile Test an axial pull is exerted upon the material in accordance with agreed upon standards, and the results measured with scientifically accurate methods. Ultimate Tensile Strength, Yield Strength, True Stress and Strain, Engineering Stress and Strain, the Elastic Modulus, the the Fracture Stress, the Modulus of Toughness, and the Modulus of Resilience, may all be determined by this test.
Many properties of a material may be determined by use of the Tensile Test.

Ultimate Tensile Strength is determined by dividing the highest load experienced by the specimen before rupture by the original cross section of the test specimen.
Yield Strength is determined by the amount of stress that is required to begin plastic deformation of the test specimen.
The Elastic Modulus or Young's Modulus is determined by the ratio of stress to strain below the elastic limit. The Modulus of Elasticity measures the stiffness of a material but it only applies to the portion of the test where the ratio of stress to strain is constant. On an x y axis graph of the Tensile Test this portion of the test would be represented by the straight line portion of the graph prior to the beginning of the curve. At this point in the test, if the load were to be removed, the test specimen would return to its original condition. After this point in the test, plastic deformation begins to occur, and the test specimen will not return to its original proportions upon relaxation of the load.
The Offset Method for determining Yield Strength is used when the material being tested does not show an easily identifiable departure point from the linear elastic region on the graph. Many metals and most plastics fall into this category. An offset is specified as a % of strain. A line is drawn from the offset with the same slope as the Modulus of Elasticity. The stress value at the intersection of the offset line with the line of the linear elastic region is then used for the Yield Strength by Offset Method.
Modulus of Toughness is determined in the Tensile Test by calculating the total area under the stress/strain curve to the point of failure.
Modulus of Resilience is the energy that can be absorbed per unit volume without causing permanent distortion. And may be calculated by integrating the stress/strain curve from zero to the elastic limit and then dividing by the original volume.
Fracture stress is the load at fracture divided by the cross sectional area at fracture.
Engineering Stress and Strain is the ratio of the applied load to the undeformed cross-sectional area, while, True Stress and Strain is the ratio of the applied force to the instantaneous cross-sectional area. True Stress and Strain calculates for the reduced area of the test specimen as plastic deformation occurs. For most applications involving small strain rates (less than 5%) Engineering Stress and Strain are accurate enough. For larger strain rates, the more involved calculations to arrive at True Stress and Strain become necessary.


