ASTM E92

ASTM E 92 Standard Test Method for Vickers Hardness of Metallic Materials
This specification applies to the determination of Vickers hardness of metallic materials using an applied force from 1 kgf. to 120 kgf. Part B is applicable to the verification of the Vickers hardness testing machines. And, part C is in reference to the calibration of standardized test blocks. Complete specifications may be obtained from ASTM International.
This standard includes two classes of standardized tests: the Routine test (with routine accuracy), and the Verification, Laboratory, or Referee Test (with a much higher degree of accuracy required). WMT&R specializes in the Referee Test.
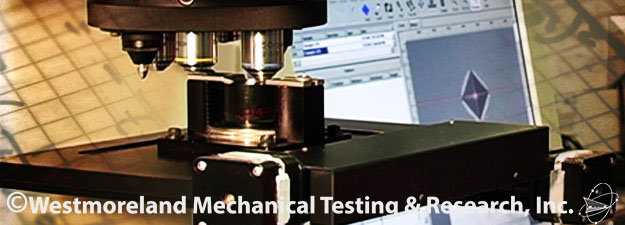
The Vickers Hardness Test consists of a small pyramid shaped diamond indenter with an apical angle of 136°, which is pressed into the test sample at a predetermined load. The resulting indentation is then measured in both axis from tip to tip. The average of the two axis measurements is then converted into a Vickers Hardness number by the use of a formula, or more often a chart based on the formula. When choosing the test load, the highest load that can be performed on the specimen will give the most accurate results. A higher load produces a larger indentation with better measurement resolution and therefore, more reliable results.


